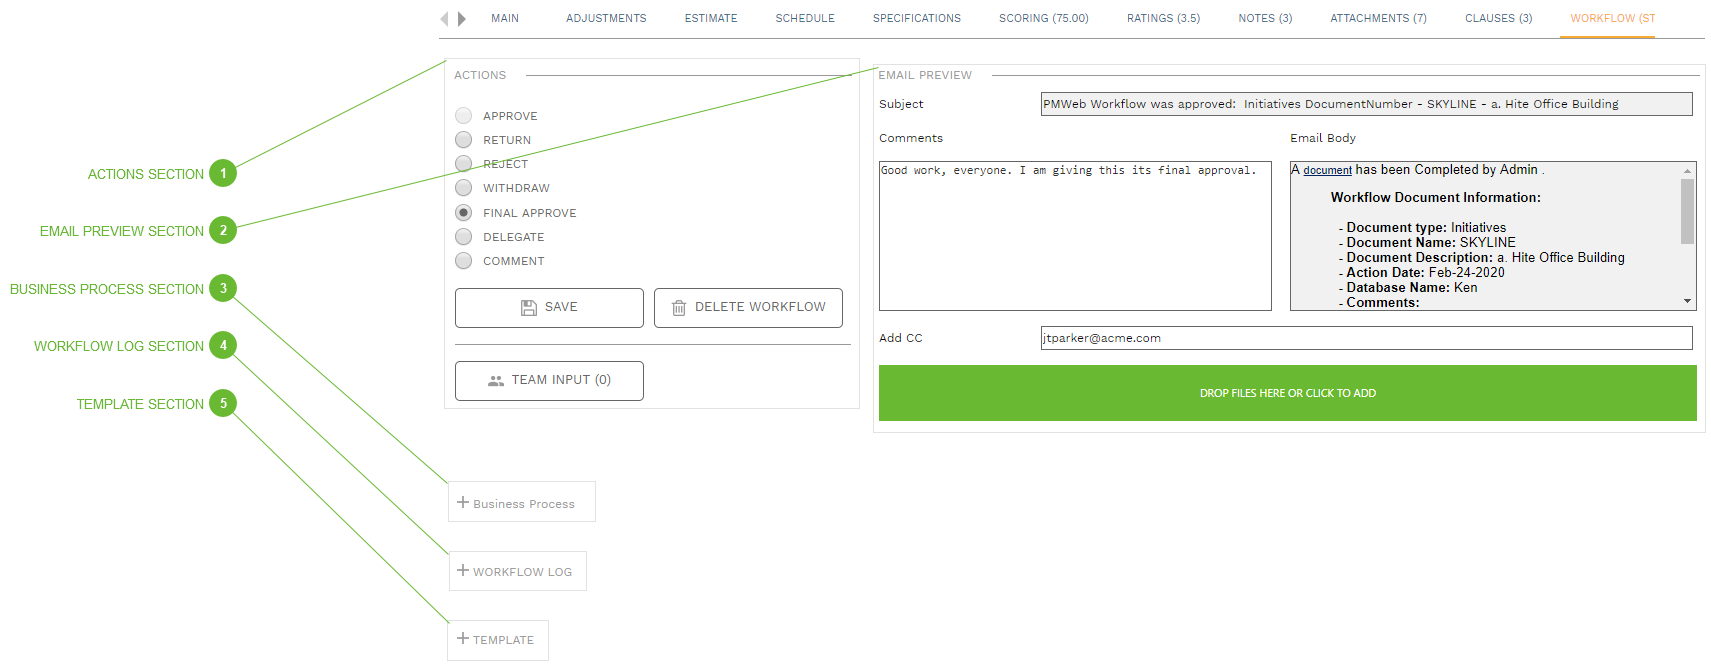
ACTIONS SECTION
Use this section of the Workflow tab to take an action. Click the Submit button to begin a workflow business process:
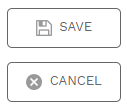
After you click the Submit button, the Workflow tab is refreshed to show the business process that will be applied and Save and Cancel buttons will appear in the Actions section:
Click Save to execute the submit action and start the business process. If you click the Cancel button, the Submit button will reappear and no workflow action will take place.
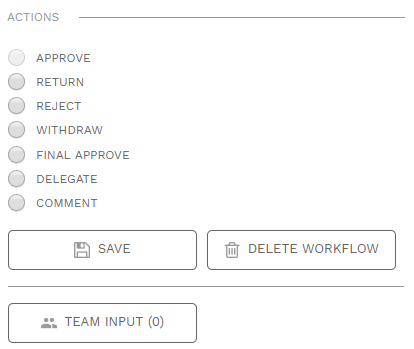
After you click the Save button, Workflow Action buttons appear (The buttons that appear and the ones that are enabled may vary, depending on settings):
-
Approve Radio Button - If this radio button is selected, when you click the Save button:
The step will be logged as "Approved"
The step will disappear from your workflow inboxes and the inboxes of any delegates or team input members
The step will also be removed from the inboxes of any other approvers if this is a multi-approver step with "Any can approve" option selected
If configured, workflow messages will be sent to selected people
You will not be able to take another action for this step
-
Return Radio Button - If this radio button is selected, when you click the Save button:
If configured, you will be prompted to select the person to whom the record should be returned. (If you are not prompted, PMWeb will automatically return it to the correct person.)
The step will be logged as "Returned"
The step will disappear from your workflow inboxes and the inboxes of any delegates or team input members
The step also be removed from the inboxes of any other approvers if this is a multi-approver step with the "Any can approve" option selected
The record Status field will be marked as "Returned"
If configured, workflow messages will be sent to selected people
You will not be able to take another action for this step
-
Reject Radio Button - If this radio button is selected, when you click the Save button:
The step will be logged as "Rejected"
The step will disappear from your workflow inboxes and the inboxes of any delegates or team input members
The step also be removed from the inboxes of any other approvers if this is a multi-approver step with the "Any can approve" option selected
The record Status field will be marked as "Rejected" and the record will be locked for editing
If configured, workflow messages will be sent to selected people
You will not be able to take another action for this step
-
Withdraw Radio Button - If this radio button is selected, when you click the Save button:
The step will be logged as "Withdrawn"
The step will disappear from your workflow inboxes and the inboxes of any delegates or team input members
The step also be removed from the inboxes of any other approvers if this is a multi-approver step with the "Any can approve" option selected
The record Status field will be marked as "Withdrawn" and the record will be locked for editing
If configured, workflow messages will be sent to selected people
You will not be able to take another action for this step
-
Final Approve Radio Button - If this radio button is selected, when you click the Save button:
The step will be logged as "Final Approve"
The step will disappear from your workflow inboxes and the inboxes of any delegates or team input members
The step also be removed from the inboxes of any other approvers if this is a multi-approver step with the "Any can approve" option selected
The record Status field will be marked as "Approved" and the record will be locked for editing
If configured, workflow messages will be sent to selected people
You will not be able to take another action for this step
-
Delegate Radio Button - As soon as you click this radio button, the Delegate Step Dialog opens. After closing the delegate step dialog you must click the Save button for the action to take effect. If you delegate the step you are still allowed to take your normal workflow actions such as approving the step which will automatically cancel the delegation. Note that delegating does not remove the step from your workflow inboxes -
Comment Radio Button - Use this button to submit a comment into the Workflow Tab Workflow Log Section without moving the record forward or back in the business process. You can create comments as often as you wish if you are the current approver. Clicking the radio button clears the displays a large comment box. Type your comment and then click the Save button. -
Save Button - After selecting the radio button for Approve, Return, Reject, Withdraw, Final Approve, or Delegate you must click this button for the action to take effect. -
Delete Workflow Button - Clicking this button clears all workflow activity from the record and allows the record to resubmitted. -
Team Input Button - Click this button to open the Team Input Dialog. Note that adding/editing team input does not remove the step from your workflow inboxes. -
Instructions - If instructions were included in the business process, they appear in this section as well.
|