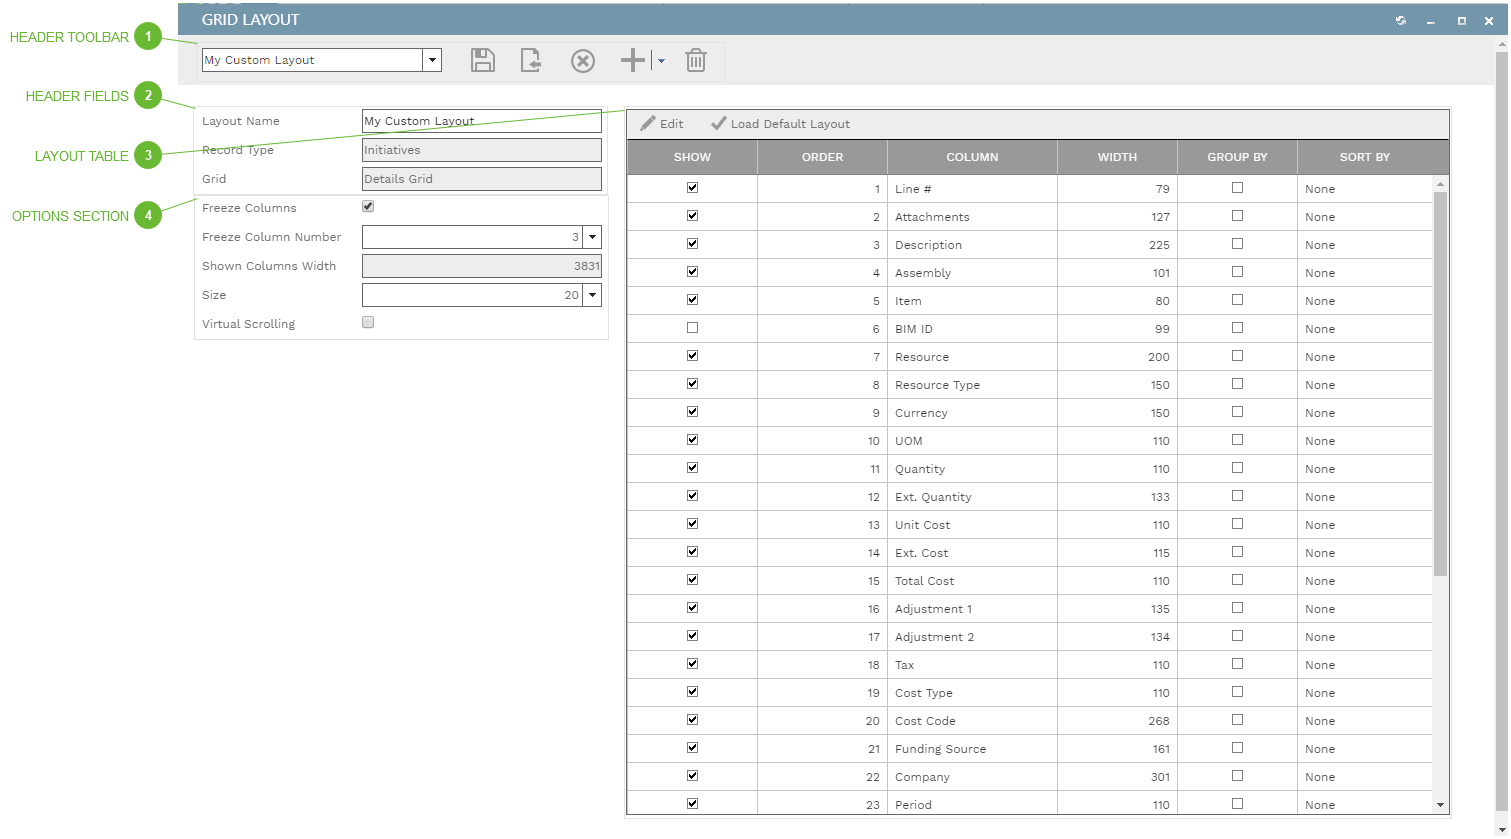
In many tables in PMWeb users can create one or more custom table layouts, save them, and quickly and easily switch between them. Some of the layout customization can be done directly in the table but some of them - in the Options section - can only be done using this dialog. This dialog is opened automatically when you save a new table layout or edit an existing one. See Tables for additional information.
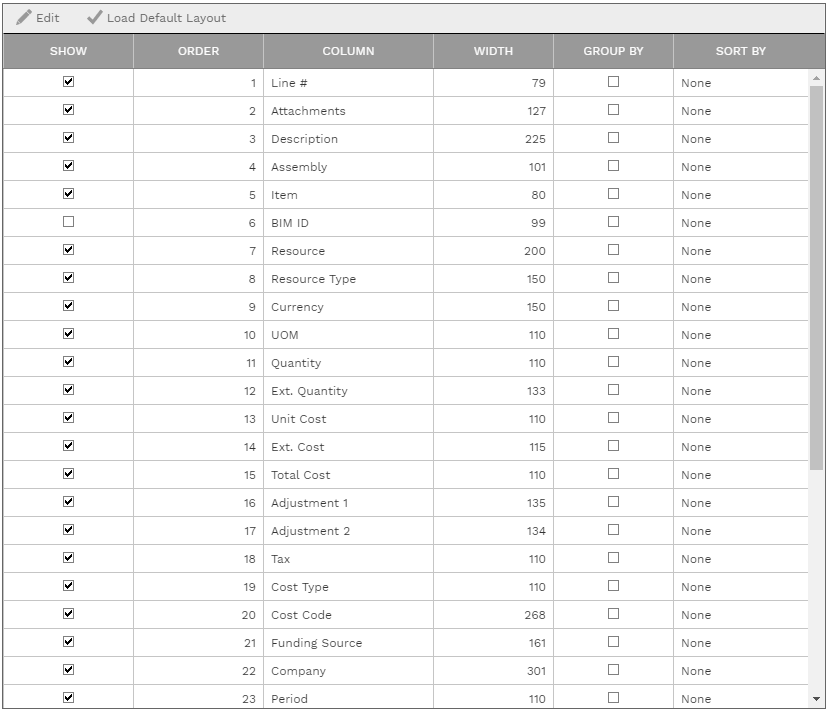
Edit Button - Select one or more lines in the table and then click this button to open the lines for editing.
Load Default Layout Button - Click this button to load all of the system defaults for the grid into the dialog. This overwrites any customizations you have made in the layout.
The lines that appear in the table vary, according to the grid layout being edited.
Show Checkbox - Place a check in this box if you want the field to show as a column in the grid.
Order Field - Read only. This number determines the order, from left to right, in which the columns display in this table. This field can be indirectly edited by dragging the line up or down in the table.
Column Field - Read only. The name of the field.
Width Field - Enter the width, in pixels, of the field as it will appear in the grid.
Group By Checkbox - Place a check in this box to group the grid by values in this field. More than one Group By box can be checked. Grouping is evaluated from top to bottom in this table.
Sort By Field - Select a sorting option for the field from the list. The choices are:
None - Do not sort the grid by values in this field
Desc - Sort the grid by values in this field in descending order
Asc - Sort the grid by values in this field in ascending order
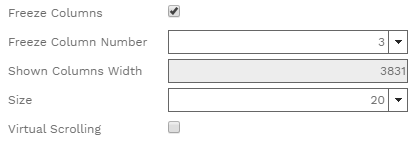
Freeze Columns Checkbox - If the box is checked, one or more columns will be frozen in the grid. Frozen columns remain fixed on the left side of the grid and do not move when the horizontal scrollbar is moved. Use the dropdown to select the number of columns to freeze.
Shown Columns Width Field - Enter the width of the grid, in pixels, as you want it to appear on the page. The default is equal to Shown Column Width, but may be edited. To make the Freeze Columns feature work this number must be less than Shown Column Width.
Page Size Field - Select the number of records, per page, to display in the grid.
Virtual Scrolling Checkbox - If this box is checked, when you use the mouse wheel to scroll up or down in the grid and the end of a grid page is reached the next page will be automatically loaded.