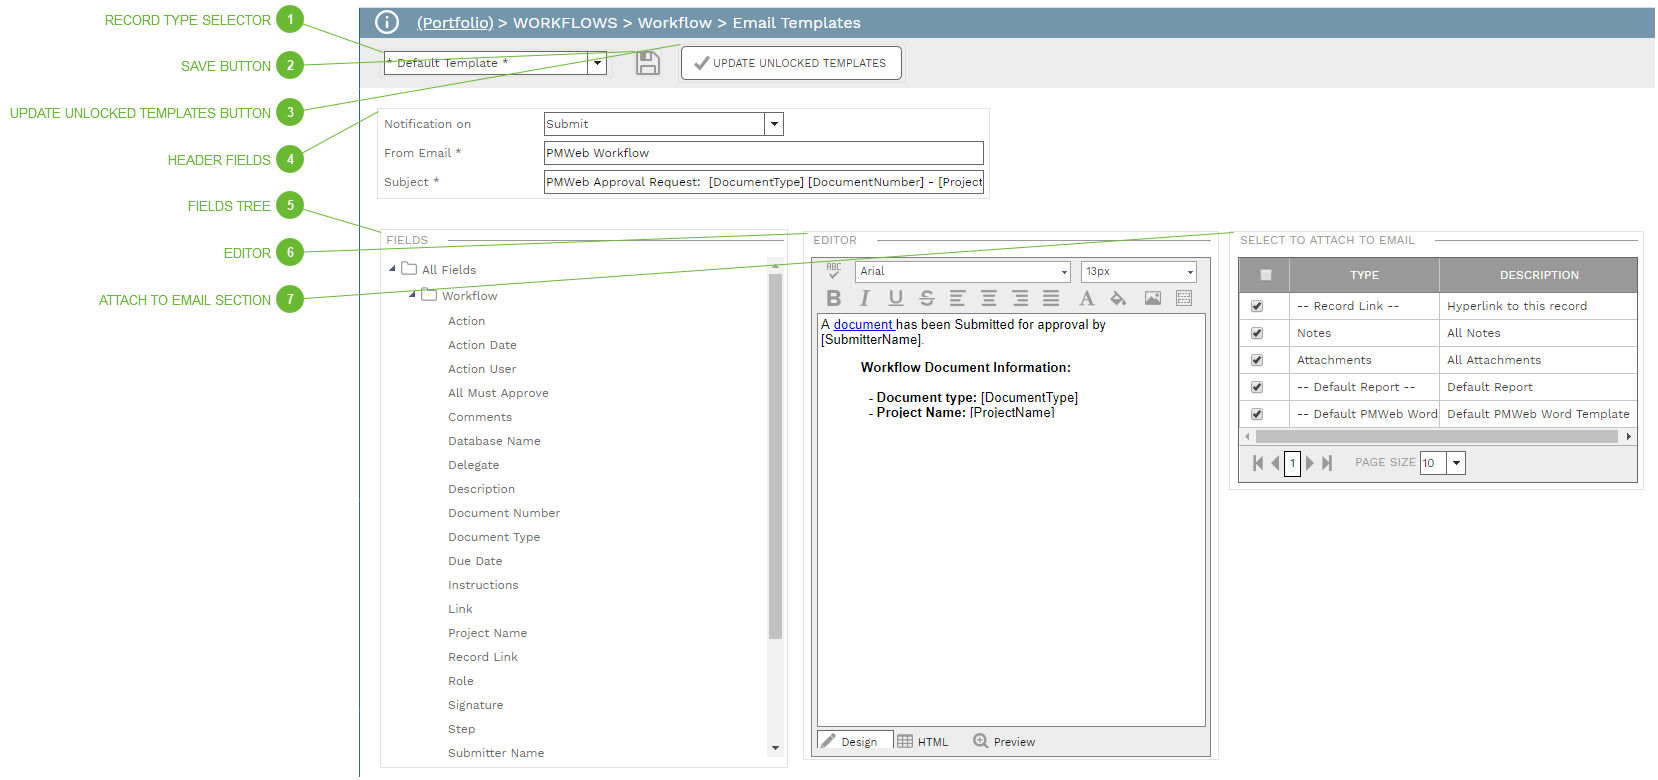
This page is used to design templates for the emails that are sent by PMWeb Workflow. To use the page:
Select a record type
Select a workflow action for the record type using the "Notification on" field
Edit the Subject field
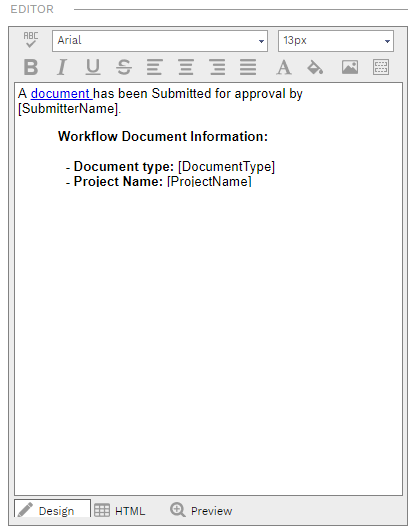
Use the Editor field to format the body of the email
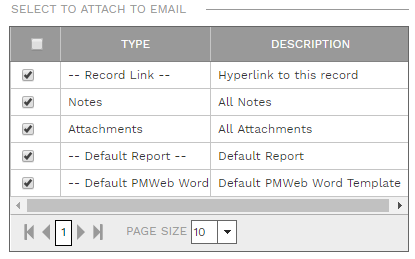
Make selections in the Select To Attach To Email Section
Save
RECORD TYPE SELECTOR
Select a record type from the dropdown list. The list includes all of the record types that can use workflow plus a special choice - "*Default Template*". See the Update Unlocked Templates field, below, for information about locked/unlocked templates.
This button only appears if the selected record type is "*Default Template*". You can think of the Default Template for a workflow action as sitting above the templates for the same workflow action for all other record types. One option for streamlining the design process is to first configure the Default Template to a general format that you like and then click this button to copy the same general design down to the templates below it. You can then tweak any of those other templates as desired.
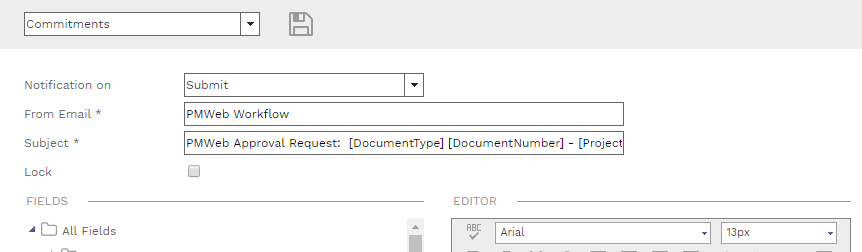
If the selected record type is anything other than "*Default Template*" the Update Unlocked Templates button is hidden and instead the Lock checkbox is shown, as illustrated by the screenshot below. If the Lock box is checked for a template, clicking the Update Unlocked Templates has no effect on it.
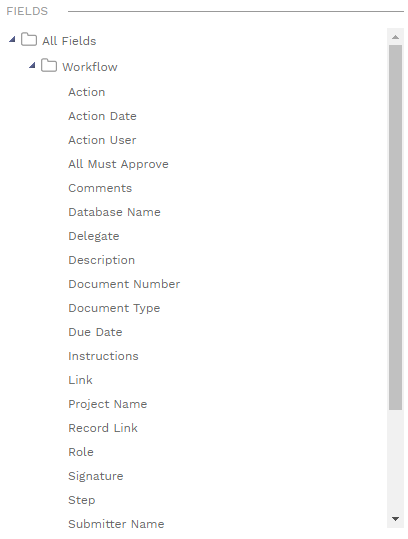
This tree displays all of the fields that can be placed as tokens in the email template. Before emails are sent, these field tokens are replaced with data from the record that is in workflow.
To use the tree, first click somewhere in the Subject or Editor fields to place your cursor where you want a token to appear and then click one of the fields in the tree.
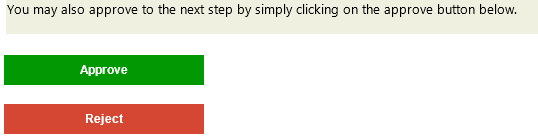
The fields in the tree vary, depending on the selected record type and include three special tokens in the Workflow Actions folder: "Approve", "Final Approve", and "Reject". These tokens will be replaced in the message with action buttons, as show in the screenshot.
When the person who receives the email clicks one of these buttons the associated workflow action will be immediately recorded without them having to log into PMWeb.
Important note: Action buttons work in conjunction with two settings:
In order for the buttons to be shown in the email the "Display Email Buttons" box must be checked in the Define Role Step Dialog
In order for the buttons to take the workflow action when clicked the "Allow Workflow actions from outside of the record" box must be checked in the PMWeb Admin Utility.
Add text and field tokens to configure the body of the email message. Use the Fields tree to insert tokens and see the Notes (RTF) Dialog topic for information about using the editor.