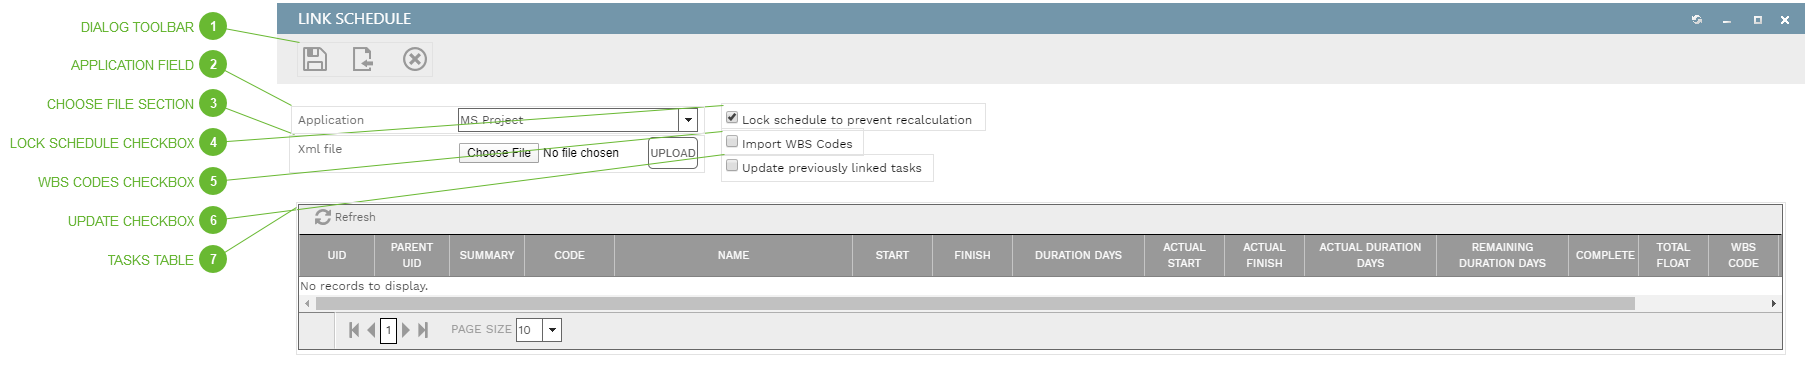
Use this dialog to link a PMWeb schedule to a Primavera P6 or MS Project schedule. Revisions to the external schedule can be uploaded at any time and used to update the PMWeb schedule.
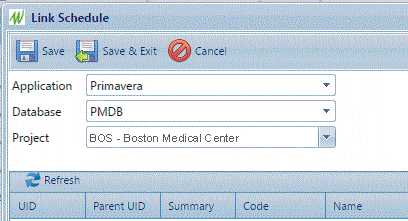
Primavera - This directly connects PMWeb to a P6 database (see Link Setup)
MS Project - Upload an XML file created from MS Project
Primavera XML - Upload an XML file created from P6
If you select "MS Project" or "Primavera XML" the next step is to upload an XML file. If, however, you select "Primavera" the screen appears like this:
This section appears if "MS Project" or "Primavera XML" is selected in the Application field. Click to browse to an XML file and then click the Upload button.
If this box is checked, the Save function in the schedule is disabled. Checking this box has the same effect as clicking the Lock button in the Schedules Header Toolbar.
If this box is checked, and if PMWeb finds WBS codes in the external schedule, it will add them to the project's list of WBS codes when the external schedule is saved.
If this box is checked, when revisions to the external schedule are uploaded tasks that have not been "unlinked" (see Scheduling/Schedules/Linked Schedule Tab) will be updated with the latest data.
This table displays lines uploaded from the external schedule file. In the screenshot above the white line indicates a task that has been "unlinked" (see Scheduling/Schedules/Linked Schedule Tab).