×
Menu
Index

PMWeb Viewer Redlining Tab Toolbar

 
PMWeb Viewer Redlining Tab Toolbar
1

Cursor Button

1. Cursor Button
 
 
- Arrow Cursor: Use this cursor to place, select, and edit drawing elements
- Hand Cursor: Use this cursor to pan around the drawing, instead of using scroll bars
2

Line Button

2. Line Button
 
 
- Line Tool: With this tool selected, click and drag in the drawing area to draw a straight line segment
- Multi-line Tool: With this tool selected, click multiple times in the drawing area to create a connected multi-line
3

Shape Button

3. Shape Button
 
 
- Rectangle Tool: With this tool selected, click two points in the drawing area to draw a rectangle
- Ellipse Tool: With this tool selected, click two points in th drawing area to draw an ellipse
4

Symbol Button

4. Symbol Button
 
 
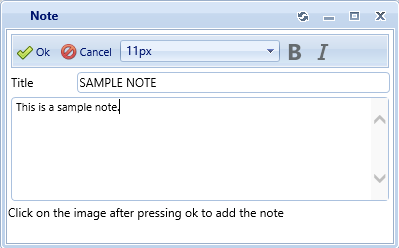
- Note Tool: When you click this tool this dialog opens:
Type a title, if you wish, as well as the body of the note. Click the OK button to save your edits and then click somewhere in the drawing area to place the note symbol.
 
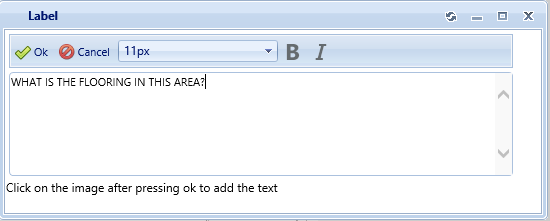
- Label Tool: When you click this tool this dialog opens:
Type a label, click the OK button to save your edits and then click somewhere in the drawing area to place the label.
 
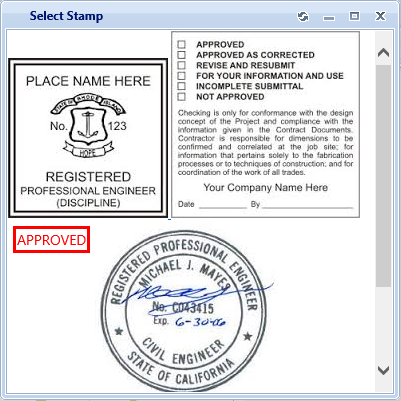
- Image Stamp Tool: When you click this tool this dialog opens:
Click on an image stamp to select it - the dialog automatically closes - and then click somewhere in the drawing area to place the stamp.
 
Image stamps are defined in PMWeb Viewer Settings and may be filtered by the PMWeb Viewer Settings Tab.
 
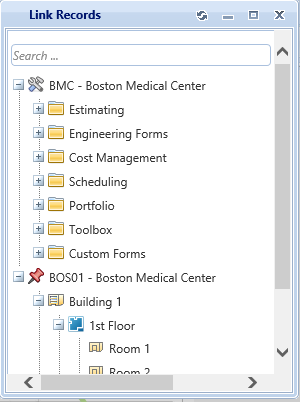
- Record Link Tool: When you click this tool this dialog opens:
Use the search field and folders to locate a record you wish to link to, double click on the record to close the dialog, and then click somewhere in the drawing area to place the record link symbol.
5

Cloud Button

5. Cloud Button
With this tool selected, click two points in the drawing area to draw a cloud symbol
6

Color Button

6. Color Button
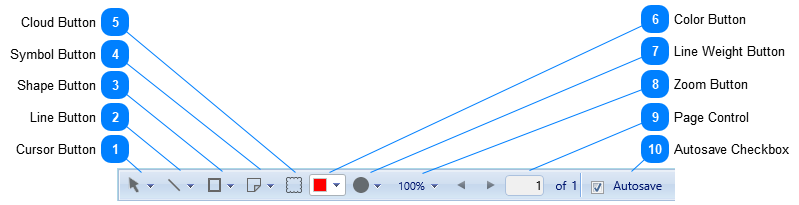
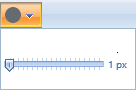
Select a color here before drawing elements - lines, shapes, clouds - and before placing note symbols, record link symbols, labels, and text stamps.
 
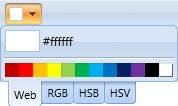
Clicking this tool opens the color picker flyout menu:
Four color tables are available: Web (the default), RGB, HSB, and HSV. Click a tab and then click a color to close the flyout and apply the color to the next drawing action.
7

Line Weight Button

7. Line Weight Button
Select a line weight here before drawing elements - lines, shapes and clouds.
 
Clicking this tool opens the line weight flyout menu:
Click and drag the slider pointer and then click outside the flyout to apply the line weight to the next drawing action.
8

Zoom Button

8. Zoom Button
Use this tool to zoom in and out on the drawing image.
 
Clicking this tool opens the zoom flyout menu:
Any of these techniques can be used in the flyout:
  • Click the left and right arrows
  • Click and drag the slider control pointer
  • Type a number in the % field
  • Click the 100% button
 
You can also zoom using a mouse wheel, without having to click the zoom button.
9

Page Control

9. Page Control
Use this section to navigate through the pages of a multi-page pdf file, either by clicking the arrows or by typing a number in the page field.
10

Autosave Checkbox

10. Autosave Checkbox
If this box is checked, edits to the drawing area are automatically saved into the actions log. If it is unchecked you must click the Save button in the header toolbar to save edits.