In PMWeb Document Manager, define any folder structure you like to store, use, and retrieve, digital content. You can drag and drop files between folders, check them in and out of the system, enable file versions, and define custom attributes to store file metadata. You can also subscribe to Document Manager folders to be alerted when content changes.
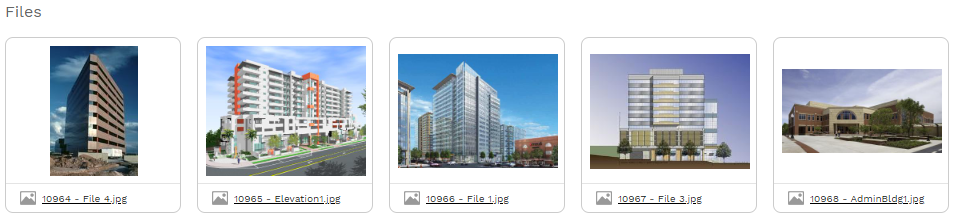
The Explorer Pane occupies most of the Document Manager window. The Explorer Pane shows all of the folders and files within the current folder and can be toggled between Card View, shown in the screenshot below, or List View. Both views show the same folders and files, but they are presented in different ways. Files can be dragged from your device and dropped in the Explorer Pane to add them to Document Manager folders. Note that you can navigate between folders using the Breadcrumbs Bar, the Folders Pane, or Explorer Pane, as explained below. See Document Manager on Mobile Devices for information about navigating when using PMWeb Document Manager on mobile devices.
Breadcrumbs in Document Manager are completely interactive.
Help Icon - Click this icon to open the context-sensitive help in a new browser tab.
Document Manager Root Folder - The contents of this folder cannot be edited and include these folders:
Locations
Projects
Shared
The Document Manager root folder header toolbar contains a special Settings button, which opens the Folder Groups Dialog. The Settings button only appears in the Document Manager root folder if "Enable permissions by Folder Groups" is turned on in Portfolio/Administer/Settings/System and the user belongs to a user group that has Document Manager Administrator rights in Portfolio/Administer/Security/Groups.
Folder Buttons - Click a folder in the breadcrumbs bar to navigate up the folder path. Note that the current folder is not underlined and is not clickable.
Subfolder Buttons - Click these buttons to see a list of subfolders within the folder. Click a subfolder in the list to navigate to it. Type in the box at the top of the list to filter the options.
Manager Page Button - Clicking this button opens the Manager Page for the record type.
Recent Records Button - Clicking this button opens the Recent Records Page for the record type.
Bookmarks Button - Clicking this button opens the Bookmarks Page.
Quick Search Control - This control is used to search Document # and File and Folder Name fields. Type search text in this field and then click the magnifying glass icon or press ENTER to execute the search and open the Search Results Page. Click the X icon to clear the search field.
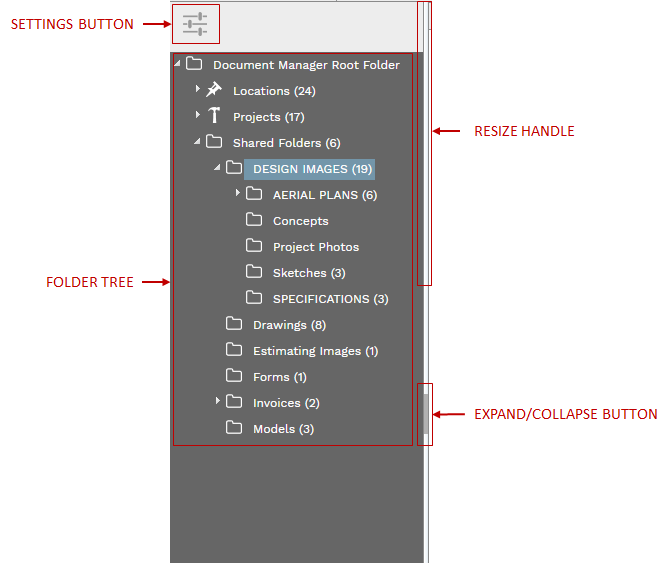
Settings Button - In most folders, click this button to open the Edit Folder Dialog. In the root directory of Document Manager, clicking this button opens the Folder Groups Dialog.
Folder Tree Pane Settings Button - Click this button to open a view in which you can choose which folders to display
Folder Tree - All the folders you have been granted permission to view and that are selected to view using the Folder Tree Pane Settings Button. The number of files in the folder appear in parentheses after the folder name.
Resize Handle - Click and drag this handle left or right to change the width of the pane
Expand/Collapse Button - Click this button to expand or collapse the pane
This tree represents your Document Manager folder structure. Use the tree to locate and navigate to folders. Click on the arrows to the left of folders to expand or collapse nodes in the tree. Click a folder to navigate to it. Right click on a folder to open a context menu. Menu options include:
New Folder - Creates a new folder directly beneath the folder you right clicked on
Open - Loads the folder in the Explorer Pane. This is the same as left clicking on the folder.
Edit Folder - Opens the Edit Folder Dialog. In the root directory of Document Manager, clicking this button opens the Folder Groups Dialog, if "Enable permissions by Folder Groups" is turned on in Portfolio/Administer/Settings/System and the user belongs to a user group that has Document Manager Administrator rights in Portfolio/Administer/Security/Groups.
Rename - Opens the folder label in the tree for editing. Press ENTER after you have finished typing the new label.
Copy Folder - Copies the folder to your device's clipboard. This includes the folder, it's configuration options (see Edit Folder Dialog) as well as all files within the folder that are not currently checked out
Paste Folder - Pastes the folder copied using the Copy Folder command as a subfolder of the folder you right clicked on
Delete - Opens a confirmation dialog. If you click the OK button in the dialog the folder and all of its files will be deleted.
Note that not all context menu options are enabled on each right click, depending on the level of the folder and the permissions you have been granted.
Files from one folder can be selected in the Explorer Pane then dragged and dropped into another folder in the tree.
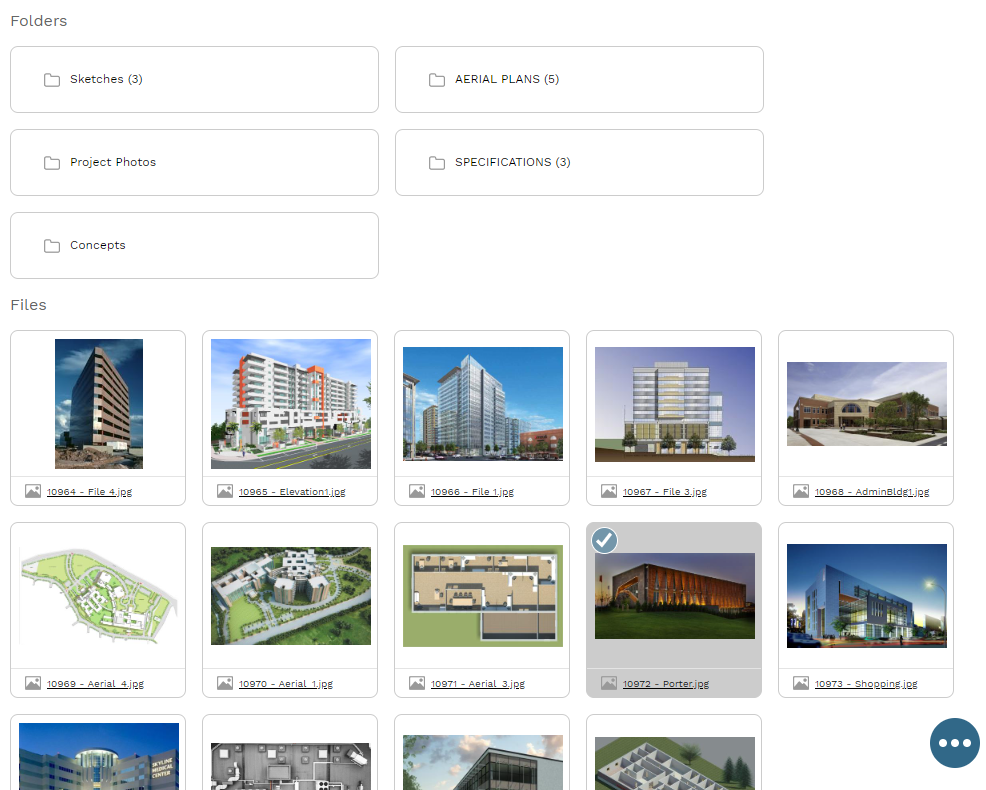
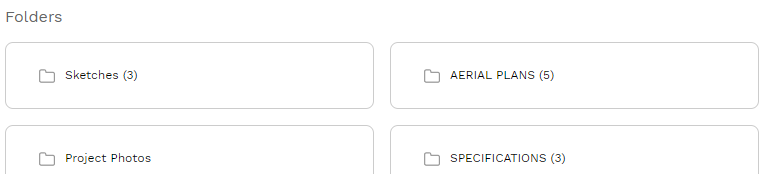
Folders appear at the top of the Explorer Pane, in both Card View and List View. Click on a folder to select it. SHIFT+CLICK and CTRL+CLICK can be used to select multiple folders. Selected folders can be dragged and dropped on another folder to move them to the target folder. Double click on a folder to navigate to it. Right click on a folder to see a menu of folder actions:
Open - Navigates to the folder. This is the same as double clicking on a folder.
Folder - This option creates a new folder within the folder you right clicked.
From Your Computer - This option opens your device's file browser. Remember that files added this way will be added to the folder you right clicked, not the one you are currently viewing.
Each card in this section of the Explorer Pane represents a file in the folder. Click on a file to select it. SHIFT+CLICK and CTRL+CLICK can be used to selected multiple files. Selected files can be dragged and dropped on another folder to move them to the target folder. Clicking the ID/Name hyperlink at the bottom of the card navigates to the Linked PMWeb Record.
Right click on a card to see a context menu of file actions. The actions that appear vary, depending on the file selected:
View - If it is a compatible file type, this opens the file in the image preview popup. Click anywhere to dismiss the popup.
Check Out - Applies "Checked Out" status to the file. Checked out files cannot be overwritten except by the user who checked them out and then only by following the Check In process.
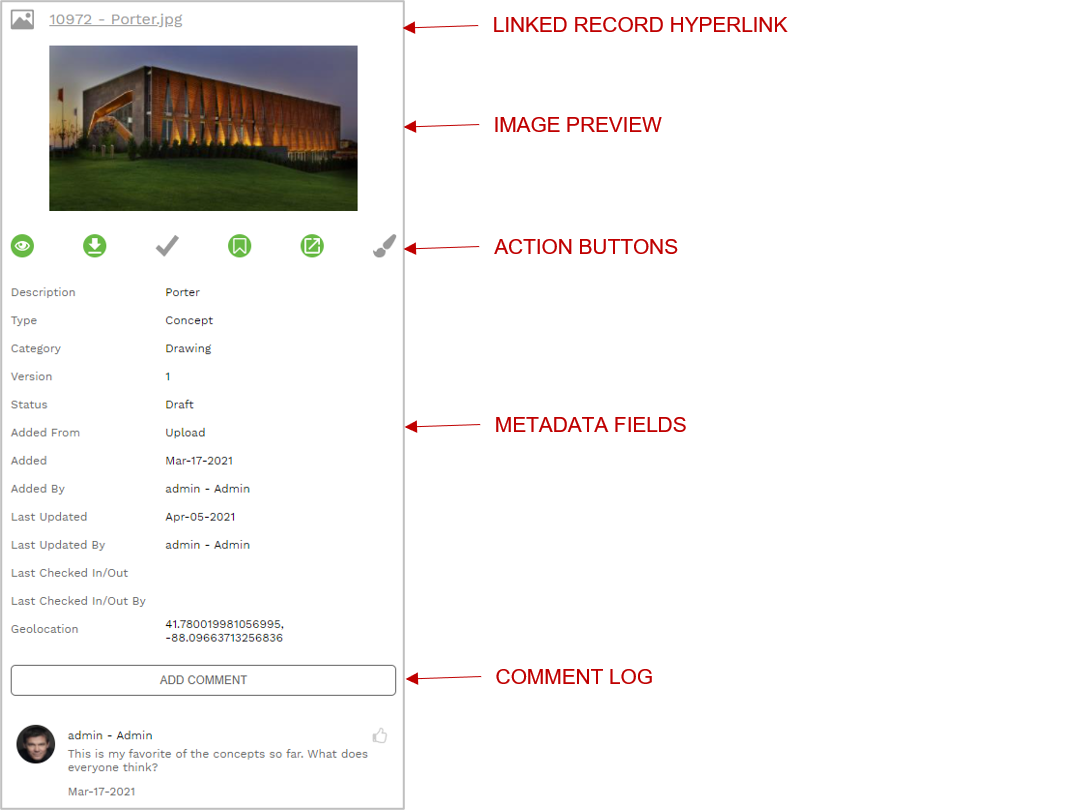
This pane displays metadata related to a selected folder or file and provides buttons that allow you take certain actions. The Details Pane can be shown or hidden using the Details toggle button in the Explorer Pane toolbar (see above). Elements of the Details Pane include:
Linked Record Hyperlink - Clicking this hyperlink navigates to the Linked PMWeb Record.
Image Preview - If the file is of a compatible type, a preview image shows here.
Action Buttons - The buttons that show here vary, depending on several factors. They represent the same actions that are available in the context menus that open when you right click a folder or file.
Metadata Fields - Fields are read only. If the folder has custom Attributes (see Edit Folder Dialog) they appear here. Note that for the Geolocation attribute to appear, you must first enable the setting "Store Geolocation Data when Possible" in Portfolio/Settings/General Settings System Subtab.
Comment Log - Click the Add Comment button to create a comment. A log of comments appears below it. Click a Like button to like a comment.
Click this button to open a context menu. The choices in the menu vary, depending on the folders and files that are currently selected. See the sections above for information about menu choices.