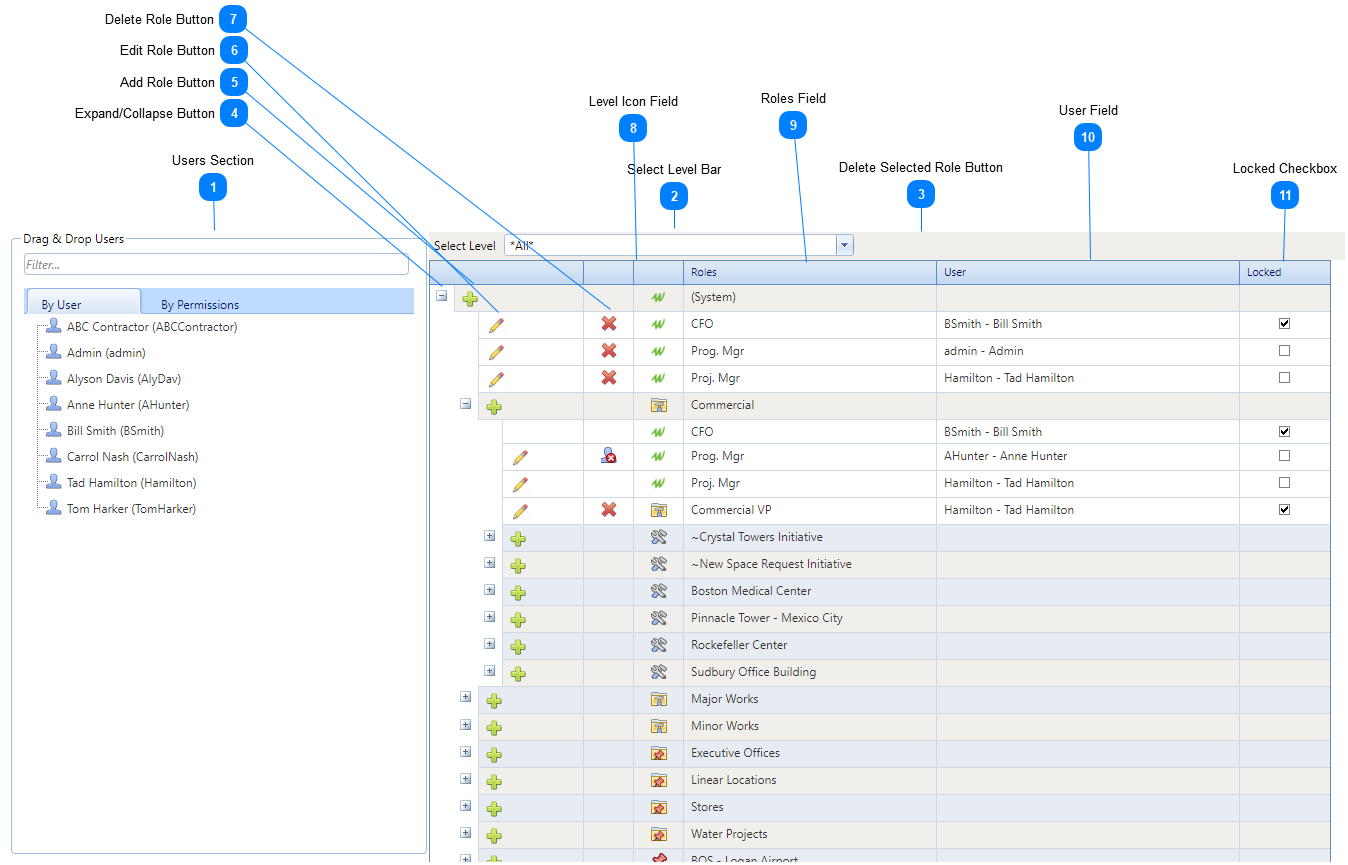
Use this page to view, define, and assign Visual Workflows at all levels: System, Program, and Project. Note that the actions performed here can also be performed on the Roles Tab of Workflow Setup but there you can only work at one level at a time.
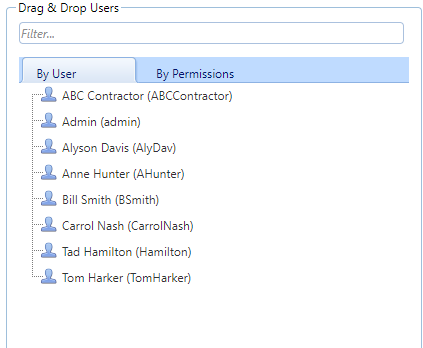
Users Section
Drag users from this tree and drop them on a role to assign them. Use the Filter... field to limit the users shown. The By User tab shows users individually while the By Permissions tab groups them by User Group and shows the security level assigned to them.
Select a level to change the view of the roles table. Choices are:
*All* - If this is selected, all levels and all roles are displayed -- system, programs, projects, location programs, and locations.
System - If this is selected only system level roles are displayed
[a program] - If this is selected system level roles and roles defined for that program are displayed
[a project] - If this is selected system level roles, roles for the project's program, and roles defined for that project are displayed
[a location program] - If this is selected system level roles and roles defined for that location program are displayed
[a location] - If this is selected system level roles, roles for the location's program, and roles defined for that location are displayed
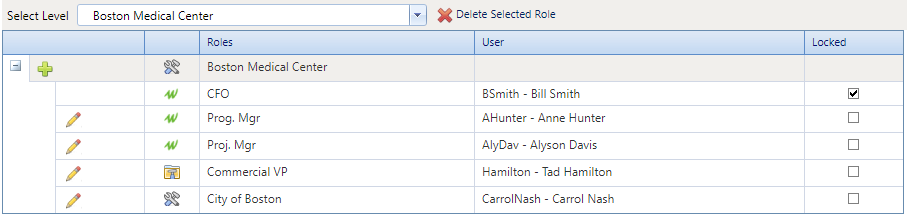
In the screenshot below the selected level is the Boston Medical Center project, which is in the Commercial program. Three system level roles (CFO, Prog. Mgr, and Proj. Mgr), one program level role (Commercial VP), and one project level role (City of Boston) are displayed.